It was the day after.
And a time of reckoning - what could be done about the Christmas leftovers?
There were sufficient leftover roast chickens, mushroom stuffing and flavourful roast meat juices for a casserole. The other ingredients - dried pasta, milk and cheese are ubiquitous items in most kitchens. It might not be a bad idea to toss in some cubed ham, even the remnant salad vegetables like lettuce (remove any oxidized parts first), tomatoes and cucumbers. Since I hadn't any salad remaining, I threw in a head of broccoli, cut into half-floret pieces first.
I will not dictate specific amounts of ingredients for this casserole as different parties would surely yield differing amounts of leftover ingredients. Like cooking fried rice, just go with the feel. A rough guide would be an equal amount of dried pasta to leftovers to sauce - that is, 1 cup dried pasta to 1 cup leftover ingredients (packed) to 1 cup sauce. To estimate more accurately, cut up the ingredients first into cubes, slices ... whatever you fancy.
Cook the pasta in salted water first, but only up to about 70-80% done as the pasta will continue to absorb liquid as it bakes in the oven. Drain and tip into a large casserole/baking dish.
Make a simple cheese sauce following these ratios: 1 tablespoon butter (15 g) to 1 tablespoon flour to 1 cup milk to 2 slices cheese (I use the convenient package kind for sandwiches). Work out the total amount of sauce you'll need first, then go from there.
Melt the butter in a pot over a small flame. Add the flour and stir with a whisk till incorporated. Let the mixture cook for about half a minute then add the milk, whisking continously to break up any lumps of flour. Bring the sauce to a boil, stirring frequently. Once it boils, turn off the flame. You have just made a white sauce.
To turn this into a cheese sauce, simple include cheese. Okay, now add the slices of cheese to the sauce and allow the cheese to melt before stirring to obtain a smooth sauce. Season to taste with salt and pepper.
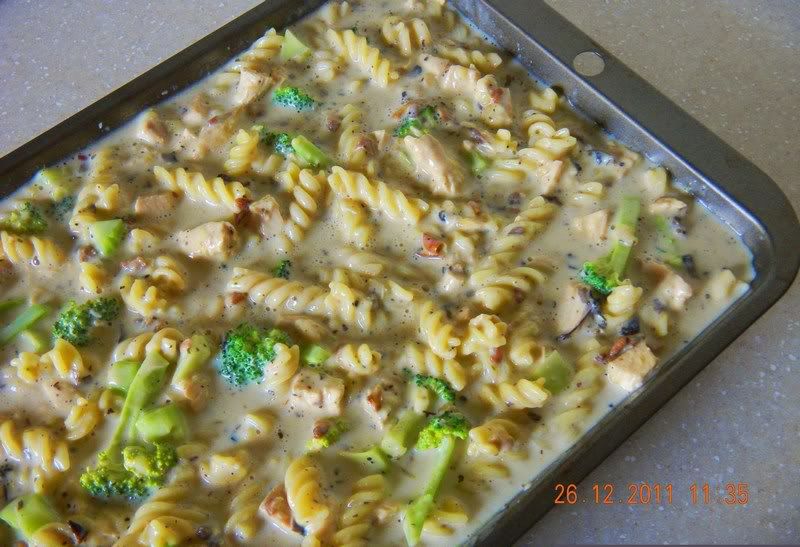
Stir the leftover ingredients into the sauce. Now pour everything into the pasta in the casserole dish. Mix them together. I think you should err on the side of more sauce here. Remember the pasta will absorb some of the sauce as it bakes. Just stir in more milk as you deem necessary and then taste - that means eat a small spoonful of the pasta together with the sauce. This affords a more precise assessment of the taste. Then add more salt and pepper as needed.
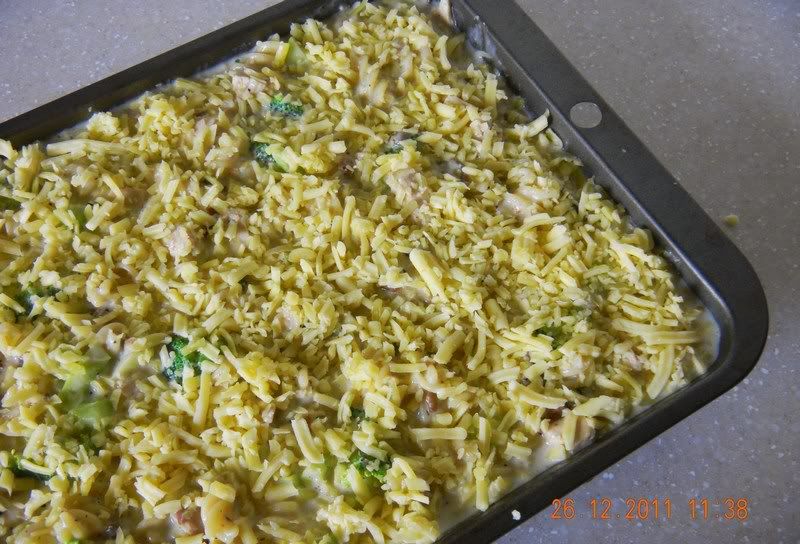
Sprinkle a generous layer of grated cheese. Alternatively, bread crumbs can also be added, or a combination of cheese and breadcrumbs.
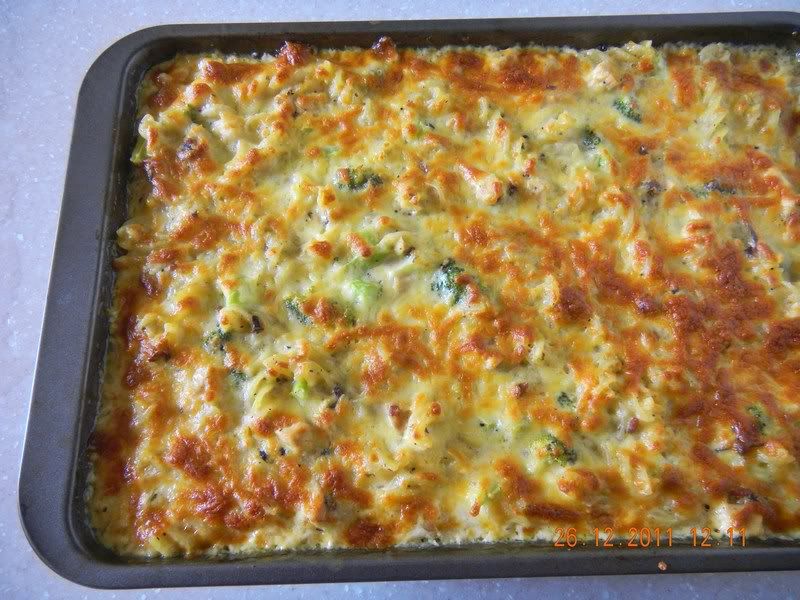
Bake at 200 degree Celsius (no need to preheat) for about 25 - 30 minutes till cheese is golden brown.
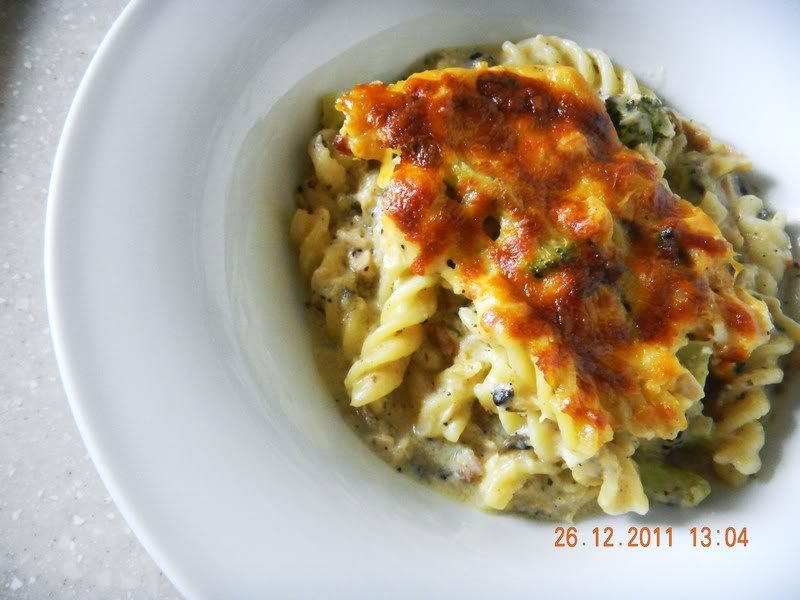
And that was my boxing day brunch.
The Christmas dinner - I love and dread it, but for now haven't the time to muse, rant or pontificate about it, as obviously, I am in the process of cooking this meal.
Very quickly, on the menu this year are:
- Clam chowder with shepherd's staff breadsticks
- Pommes dauphinoise (potatoes baked in cream, but sounds
fancier in French)
- Pasta in tomato and cheese sauce
- Roast Chicken (with herbs) and portabella and bacon stuffing
- A simple salad
- Chocolate and salted caramel brownie ice cream
Since I have not posted any recipe, here is the first one - for the Shepherd's Staff Breadsticks.
Ingredients for dough:
3 cups bread flour
1 teaspoon salt
1 teaspoon sugar
1 teaspoon yeast
1 cup + 1 tablespoon water
1 tablespoon oil
extra flour for kneading and rolling
Ingredients for topping:
2 tablespoons olive oil or melted butter
1/2 cup of grated parmiggiano reggiano or mature cheddar
Method:
1. Mix the flour, salt, sugar and yeast in a large mixing bowl. Make a well in the centre and add the water and oil.
2. Using a spatula, draw the flour into the liquid till incorporated. Scrap the sides of the bowl well.
3. Flour your hands lightly. Sprinkle a bit of flour over the dough and knead till all the flour is mixed in. Add a bit more flour (about 1/2 tablespoon) only if bits of the dough still stick to your hand and continue to need till the added flour is mixed in. Repeat if dough still sticks to your hands.
4. Knead for a total of about 10 minutes. The dough will become smooth and elastic as you knead. It will feel moist but it should not stick to your hands.
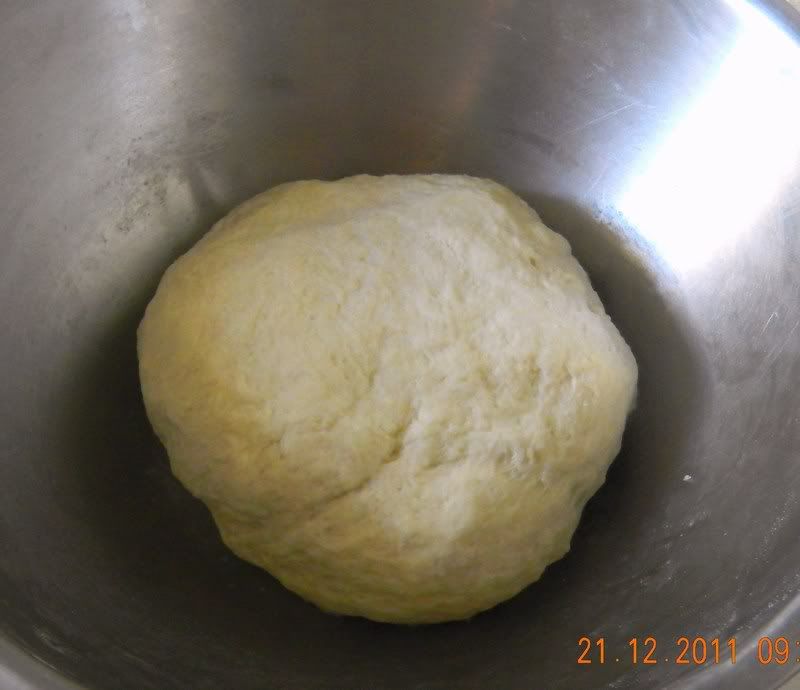
5. Shape the dough into a disc. Leave it in the mixing bowl and cover the bowl tightly with cling foil. Leave the dough to rise till tripled in volume. It may take 2 to 4 hours. (Mine took about 3 and a half.)
6. Line two or three 38 x 25 cm trays with non-stick baking paper. (Or just use the largest trays that fits your oven. Oven and tray sizes will determine the lengths of the staffs.)
7. Put the parmiggiano reggiano on a plate.
8. When the dough is risen, divide it (use a pair of floured scissors) into 24 pieces. I do this by cutting the round dough into quarters, roll each quarter into a sausage and then cut it into 6 portions. (Just eyeball it as best as you can. It does not matter if shepherd's staffs are of differing lengths - more interesting actually.)
9. Flour one portion of dough and roll it on a clean work top (a rectangular chopping board is good) to as long as the length of your tray. You will find that the dough will stubbornly resist your attempt to lengthen it fully and will keep shrinking. Just do the best you can and then leave the dough strip on the prepared tray and get on with the next piece. As you work your way through the whole batch, the gluten in the dough strips you have rolled out will relax and be ready for you to stretch them again.
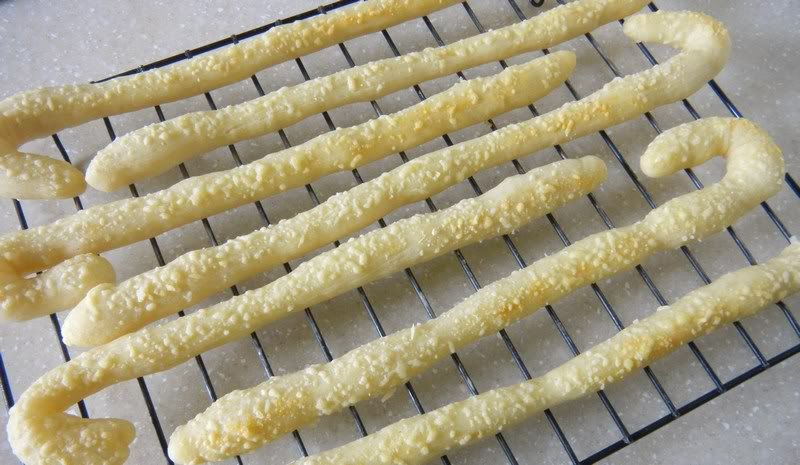
10. Now go back to the first strip of dough. This time, do not roll it but pick it up gently and stretch it the desired length. Lay it on the tray and remember to curve one end of the dough so it resembles a staff. Repeat with the rest of the dough strips. (Remember: if the dough is being stubborn again, leave it alone and get on with the rest first. Kinda of like how you would handle a stiff-necked kid throwing a hissy fit.)
11. Preheat the oven to 240 degrees Celsius or 220 degrees Celsius in a fan-assisted oven.
12. Working on one staff at a time, smear each staff with oil/butter. (I simply do this with my fingers - washing an oily brush is no fun.)
13. Gently pick up oiled/buttered stuff and dredge the oiled/buttered part in the grated cheese. Return to tray. Repeat for all the rest of the staffs.
14. If you are preparing this way in advance for a meal, bake each tray for 5 - 6 minutes till just lightly golden. Remove from the oven and cool completely on a rack.* This baking time will merely cook the dough. Just before eating, preheat the oven to the same temperature and bake the breadsticks (cold from the fridge) for a further 10 - 15 minutes till golden brown and crispy.
15. If you're going to eat the breadsticks right away, bake them for about 10 - 15 minutes.
16. Serve these breadsticks in a glass tall glass container/jar.
Hmm...these do look like candy cane breadsticks too. I will post more pictures of the fully baked shepherd's staffs after Christmas.
* To store the partially baked breadsticks, wrap them tightly in aluminium foil and keep in the fridge.
In the frenzy to get the Christmas dinner ready, I had forgotten to take pictures of the tanned breadsticks standing tall in the glass jars. The pics will have to wait till another batch is baked - no telling as to when that will occur. Thousand apologies.
Ice cream making is new to me but it is intriguing and seems simple enough to attempt without parting with cash for an ice cream maker. Anyway I am not one for purchasing a gadget that serves only one function, will undoubtedly wear out its novelty and thereafter, simply occupies prime real estate in my burst-at-the-hinge cabinet.
As mentioned in my previous post, the ginger flower ice cream I made was more like a sorbet. I need to correct that. The sorbet (store-bought) I have tasted are actually quite smooth. There were large crunchy ice crystals in my ice cream although I did the manual whisking of the ice cream mixture a few times more that the 3 recommended in most recipes. Yeah I know - super kiasu.
In an ice cream maker, the ice cream mixture is constantly churned as it freezes. This churning prevents the formation of large ice crystals, and hence enables the ice cream to become smooth and creamy.
Without an ice cream maker, once the ice cream mixture starts to freeze around the sides of the container, the mixture will have to be whisked to break up the ice crystals. This step must be repeated about 3 times. Another way to ensure creaminess and reduce the amount of ice crystal formation is to increase the amount of cream and cut down on the water content in the recipe. I did this simply by using 2 cups of coconut milk instead of 1 cup coconut milk and 1 cup whole milk. 100 ml of coconut milk has about 20 g or more of fat compared to whole milk's 3.5 - 4.1 g.
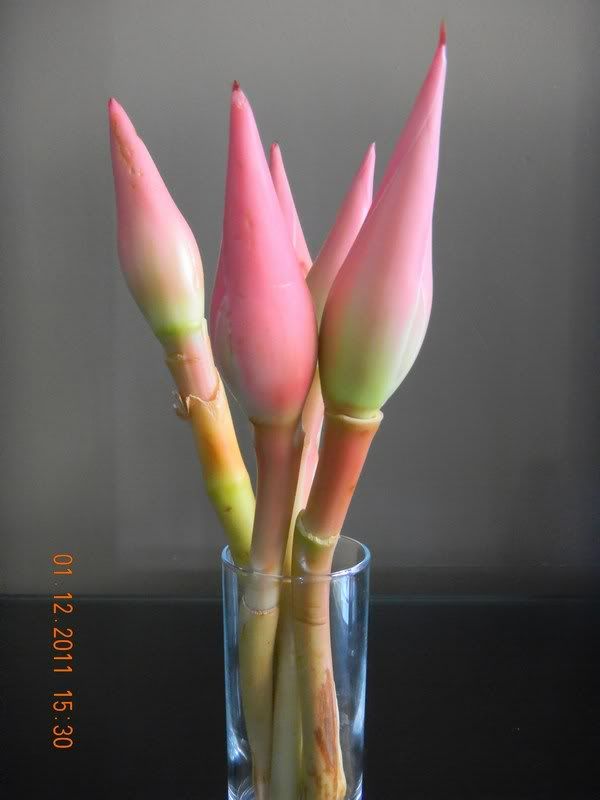
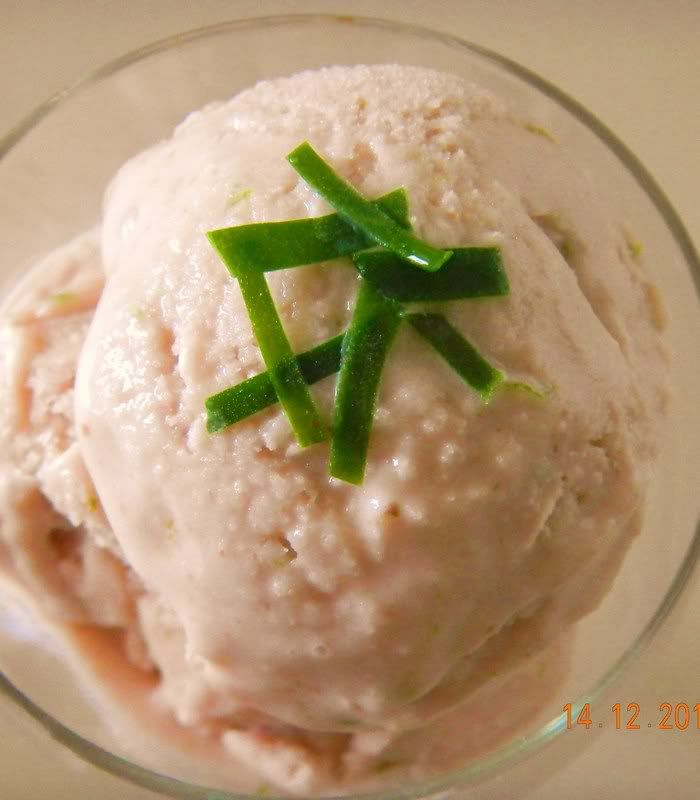
The other problem that needed fixing was the next to non-existent kaffir lime flavour. Previously, I used kaffir lime leaves which were pureed together with the ginger flower. Now I opted for the finely grated rind of 2 kaffir limes and used the kaffir lime leaf as a garnish instead. Problem solved.
I also increased the amount of food colouring for a pink hue reminiscent of a ginger flower. It takes no more than a couple more toothpicks (tips only) dipped into the food colouring and then into the ice cream mixture.
This time the ice cream was creamy without the grainy ice crystals. The ethereal flavour of the ginger flower hits you first, followed by the nuanced notes of the kaffir lime, with the coconut tying all these flavours together.
Someone tasting this ice cream the first time would be hard put to nail the flavour. My sister-in-law's initial reaction was, "Mmm... is it hae bee hiahm?" Then when told that it was the rojak flower, she went "Oooh!" and ate it all up.
I am completely satisfied with the outcome of this ice cream which is given the thumbs up by all the ginger flower lovers in my family. For the few who can't wrap their minds around this new Asian ce cream flavour, I can only say that it's their loss.