There is something organic, visceral and immediate about eating with your hands, sans the cold metallic feel of cutlery. Other than the sight and smell of the food, another sense, that of touch, is kindled. Texture is explored even before the food reaches the mouth where taste and more textural qualities are experienced.
Bread lends itself perfectly to being held in your hands, torn and then popped into your mouth. It may be buttered or dipped into an unctous gravy. It can be wrapped around some scrumptious filling, even employed to wipe up every bit of sauce, eaten, and then the crumbs and any smidgen of sauce licked clean.
Naan is one of those breads that beckons you to hold it (never mind the heat) , tear it apart, dip it into a curry and quickly pop it into your mouth.
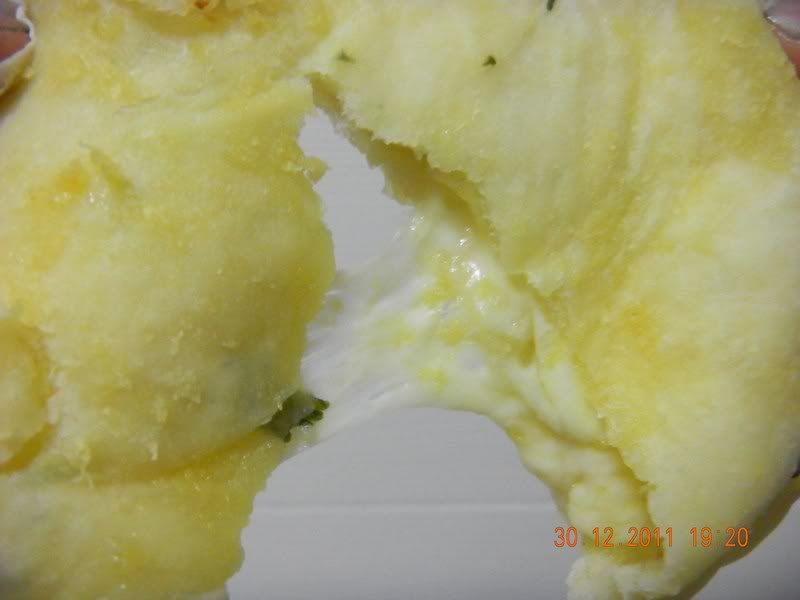
Even better is naan that is buttery and garlicky on the outside, and satiated with molten cheese within.
When I made the naan a couple of weeks ago, I had mistakenly assumed that a bag of bread flour was stashed in the fridge. It was plain flour I found instead. Yes, I just had to make do. The reduced gluten content of plain flour actually produced a softer, flufflier naan. Bread flour, with more protein or gluten, will coagulate to give a chewier bread. So just go with whatever rocks your boat.
Eat this naan with any kind of curry - dhal, vegetable or meat curries. It is especially indulgent with butter chicken - a north Indian curry that is mild, yet rich with butter and cream. Some tangy cucumber raita on the side wouldn't go amiss.
Ingredients:
3 and 1/2 cups bread or plain flour, plus extra for dusting
1 and 1/2 teaspoons salt
1 and 1/2 teaspoons sugar
1 and 1/2 teaspoons instant yeast
1/2 cup milk
2 eggs
1/4 cup yogurt
1 tablespoon oil
1 stalk coriander leaves
4 large cloves garlic, peeled and finely grated
1 tablespoon water
30 g salted butter
200 g grated mozarella
200 g grated cheddar
Method:
1. Mix the first 4 dry ingredients in a large mixing bowl.
2. Add the milk, eggs, yogurt and oil to the dry ingredients.
3. Using a spatula, gradually stir the flour into the liquids till all the flour is incorporated. Remember to scrape the sides well.
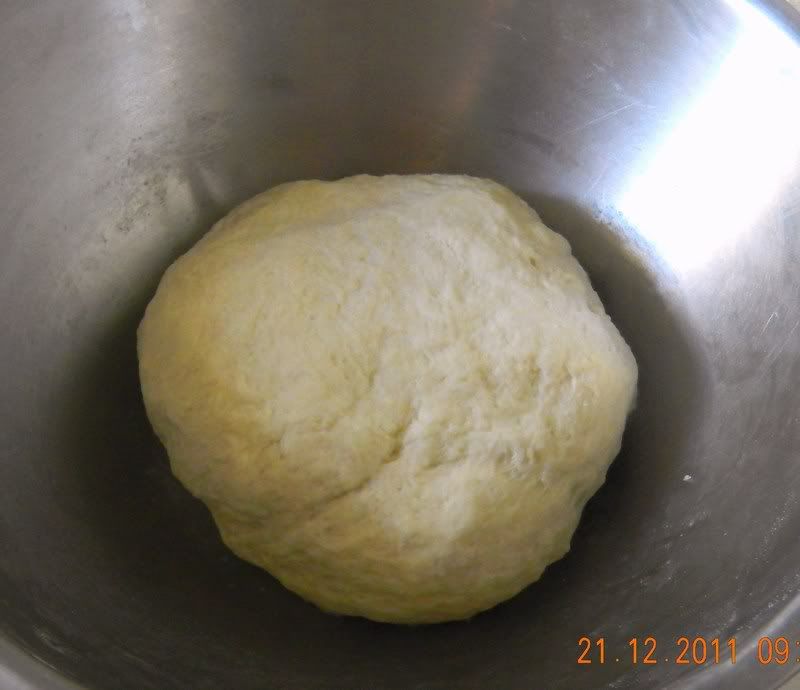
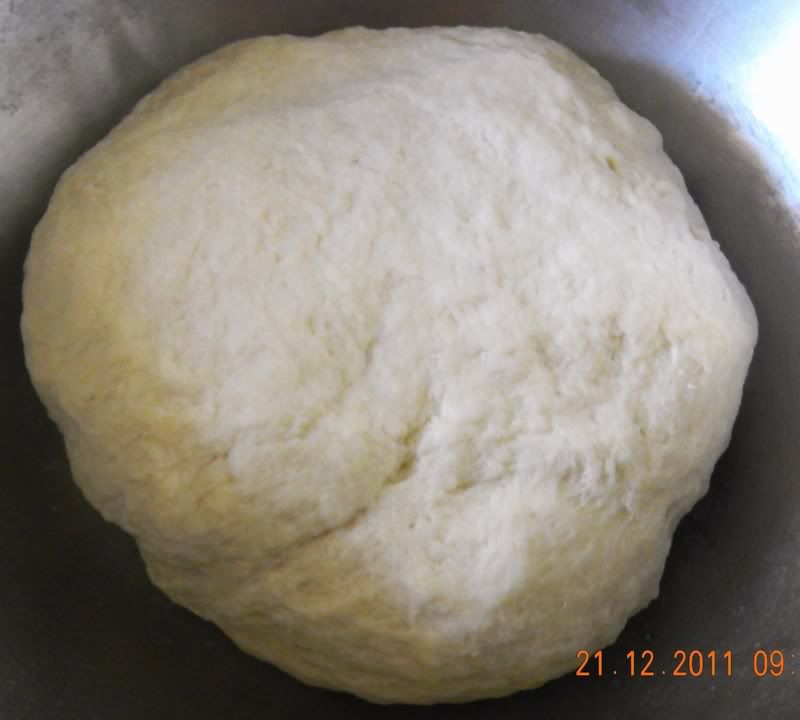
4. Flour your hands lightly and knead the dough for about 10 minutes till it becomes smooth and elastic. A small amount of additional flour may be needed if the dough is too sticky.
5. Form the kneaded dough into a disc. Place in the bowl and cover tightly with cling foil. Let the dough rise till it is about 3 times in volume.
6. In the meantime, remove the coriander leaves from the stems and roughly chop them.
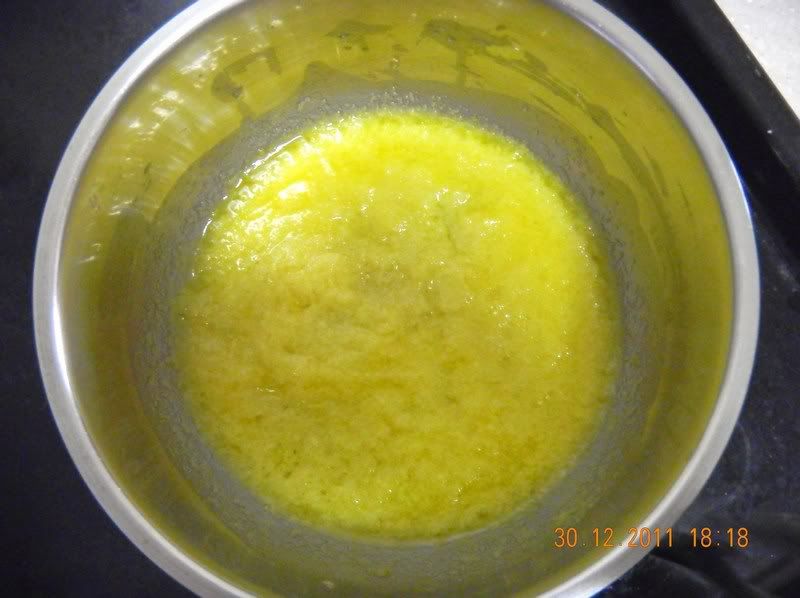
7. Cook the garlic and the tablespoon of water in a small pot using a low flame. It just needs a minute or two to reduce the pungency. Do not let the garlic brown. If it is drying up too fast, add a bit more water. Add the butter. Turn off the flame once the butter has melted.
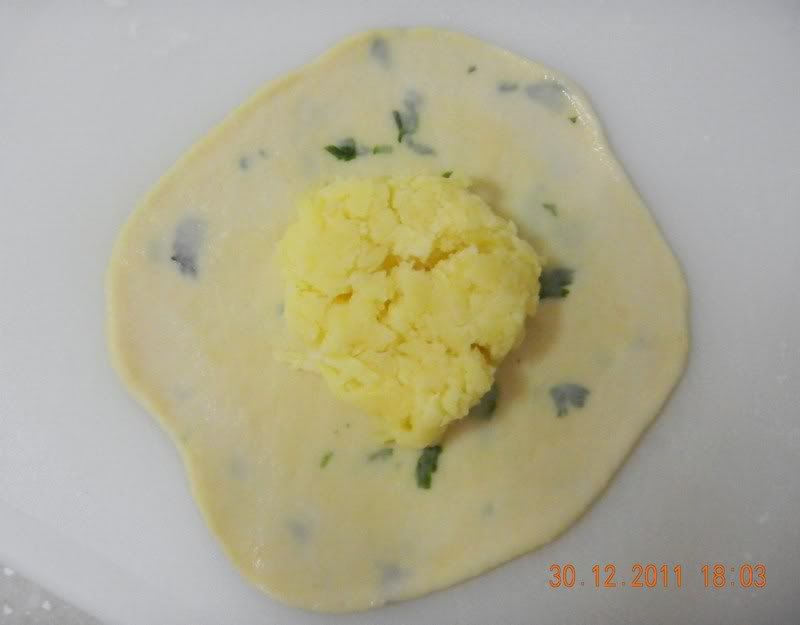
8. Mix the 2 types of grated cheese together and divide them into 12 portions - either eyeball or use a scale. Press each portion of cheeses together to form a packed disc.
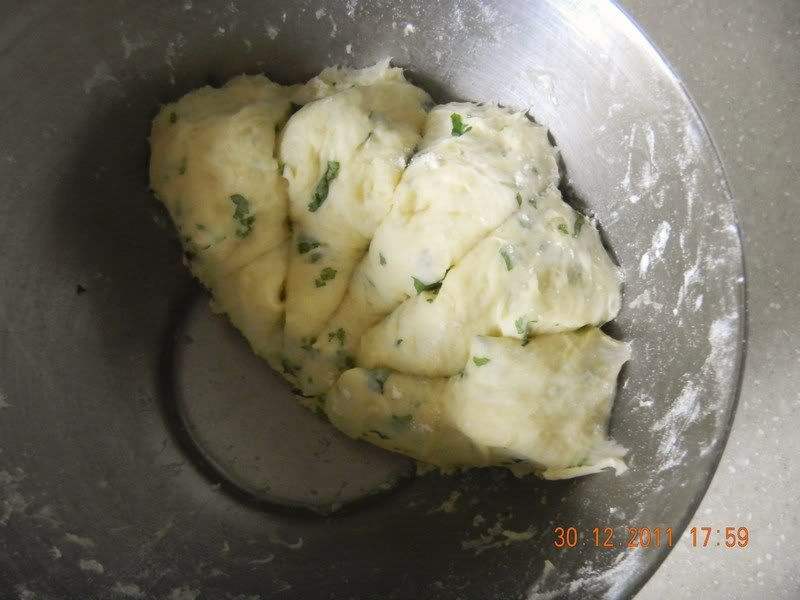
9. When the bread has adequately risen, remove it from the bowl and place on a lightly floured surface. Knead the coriander leaves into the dough till the leaves are well distributed. I find it easier to hold the dough in my hand, flatten and lightly stretch it into a rough rectangle slightly large than my palm. Leaving the dough on my palm, I'll sprinkle about a quarter of the coriander leaves onto the dough and then roll it up like a swiss roll. The rolled up dough will be flatten and stretched again into a rectangle, more coriander leaves are sprinkled on, and the dough rolled up. The process is repeated 2 more times till all coriander leaves are used up. This "swiss roll" method distributes the coriander leaves more uniformly. Of course all these can be done with the dough on the tabletop but then you'll have to clean said tabletop.
10. Leave the dough to rest in the bowl, covered, for about 15 minutes. This allows the gluten to relax, making the dough more malleable. Now divide the dough into 12 portions - again eyeball this or use the scale. Position a small dish of water, a bowl of extra flour and the cheese near to your worktop. You may wish to roll the naan on a clean chopping board like I do. Again easier cleaning up is my consideration.
11. Spread enough cling foil on your tabletop for the shaped naan. (Bread dough does not stick to cling foil the way it would to a naked tabletop).
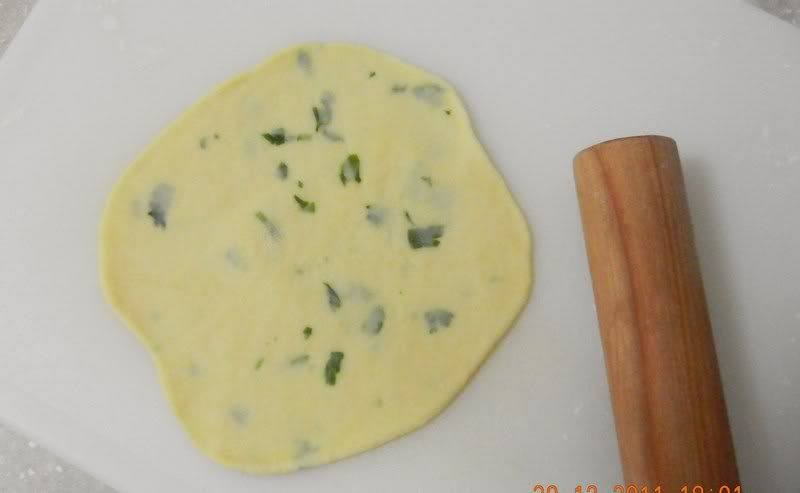
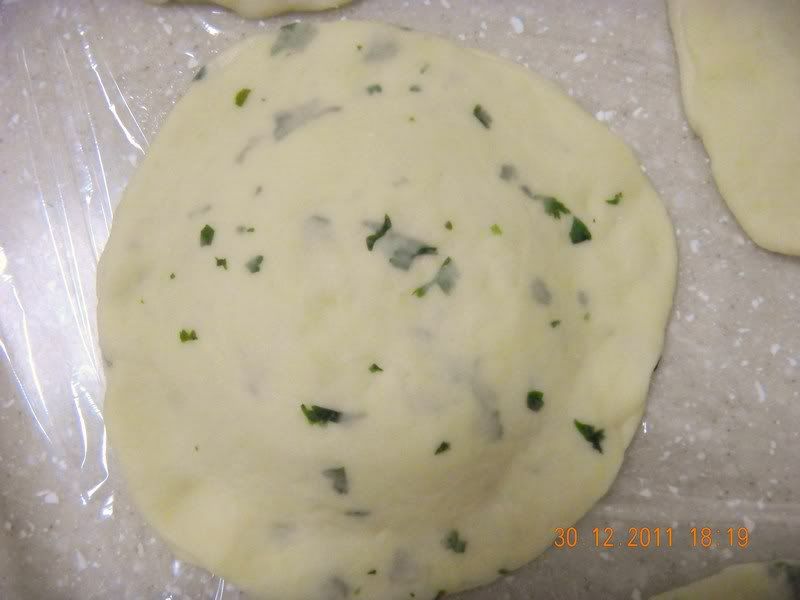
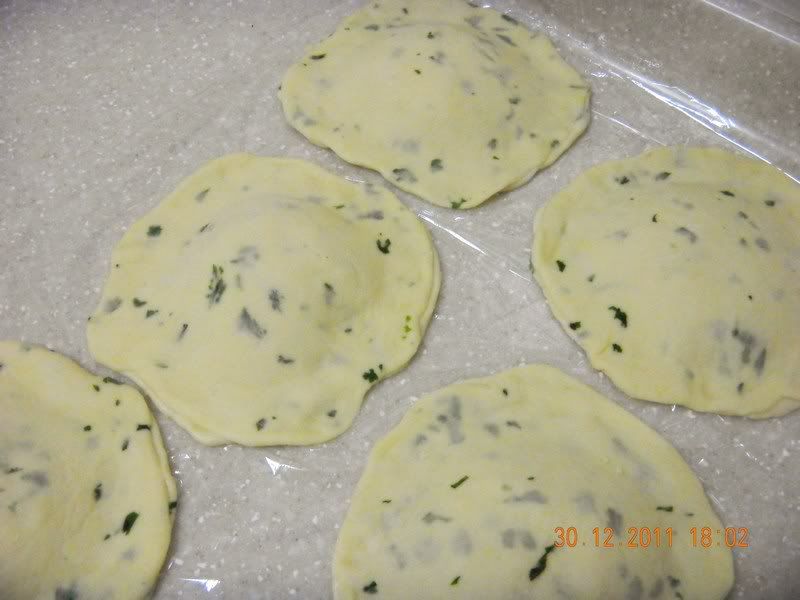
12. Pick up 1 portion of dough. Divide this into 2, roll them into balls and dust generously with flour. With a floured rolling pin, roll each ball into a circle about 18-20 cm in diameter. Place the cheese in the middle of 1 circle. Moisten the edges and cover with the other piece. Press the edges to seal tightly. Place the completed naan on the cling foil.
13. Repeat step 12 to make 12 pieces of naan. When you're on to the 10th piece, start the oven to 240 degrees Celsius with the baking tray in the oven to preheat as well. The naan will stick to a cold baking tray, making removal difficult and risking tears to the naan. I use the drip tray that comes with the oven.
14. Once the oven is ready, transfer the naan, piece by piece to the baking tray, spacing them about a cm or 2 apart. They will puff up, but not spread out. Fit in as many pieces as your tray can accomodate. I do 4 pieces at one go in mine.
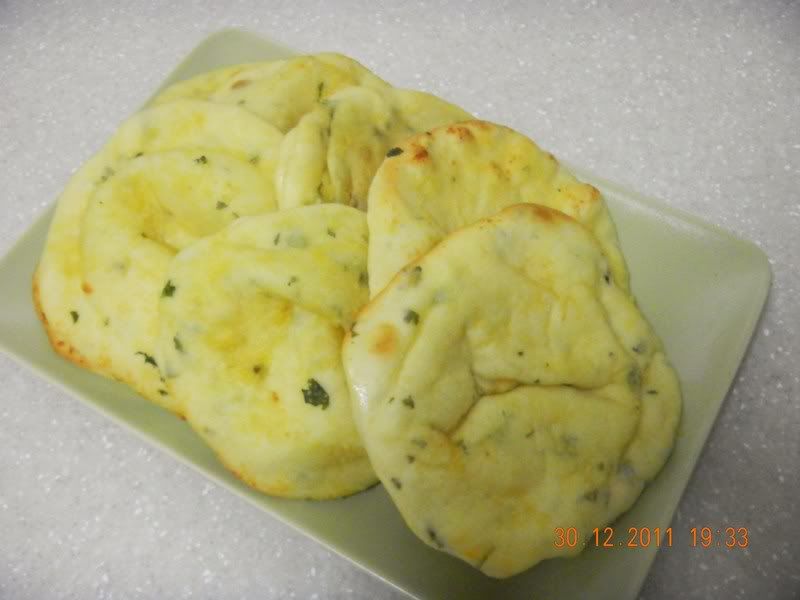
15. Bake for about 5 minutes. They will puff up dramatically and brown lightly in spots. Remove them from the oven with a frying slice and transfer to another tray. Load the baking tray with another batch of naan.
16. Brush the baked naan generously with the garlic-butter and place them in a basket or a serving platter. Cover loosely with a tea towel to keep warm.
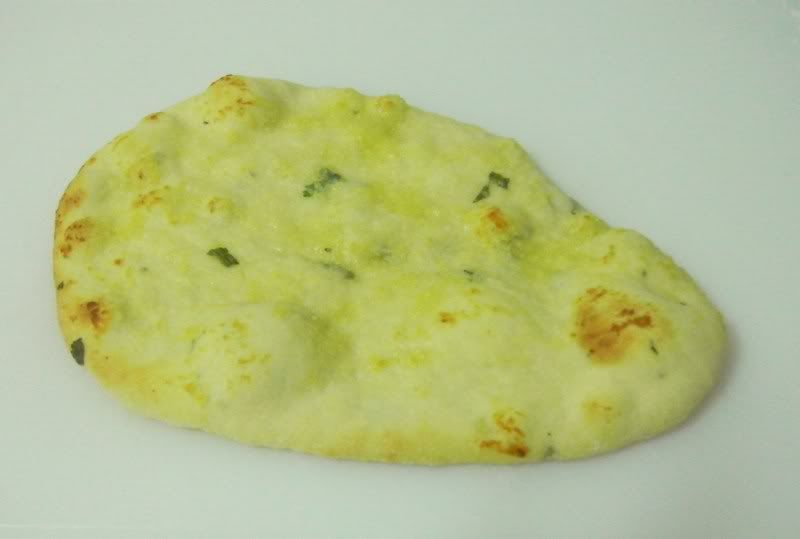
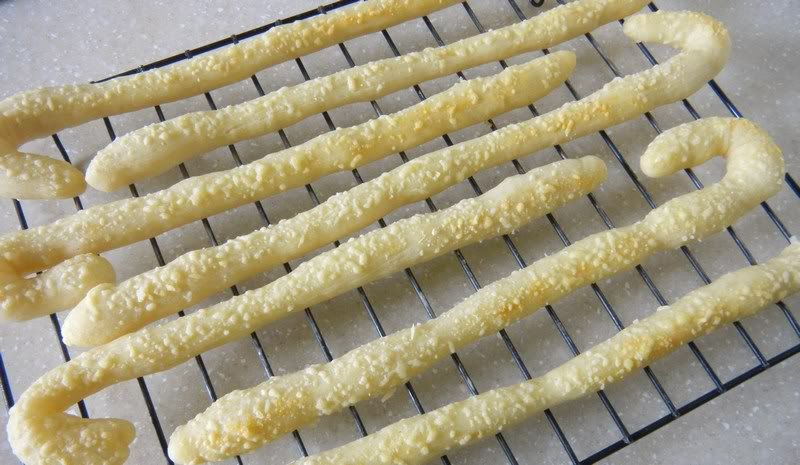
Instead of circular naan, you can make the more traditional pear-shaped ones like this:
Whatever the shape, check out the goodness within when you tear into that hot naan.